
I got carried away and progressed further with the build and forgot to take photos… The motor mount was installed the other day. I used 30 min epoxy to glue the forward centering ring to the main body tube. I did NOT glue the rear centering ring. I did dry fit it though to keep the motor mount centered. Note that this deviates from the Apogee installation method where they install the full motor mount at once.
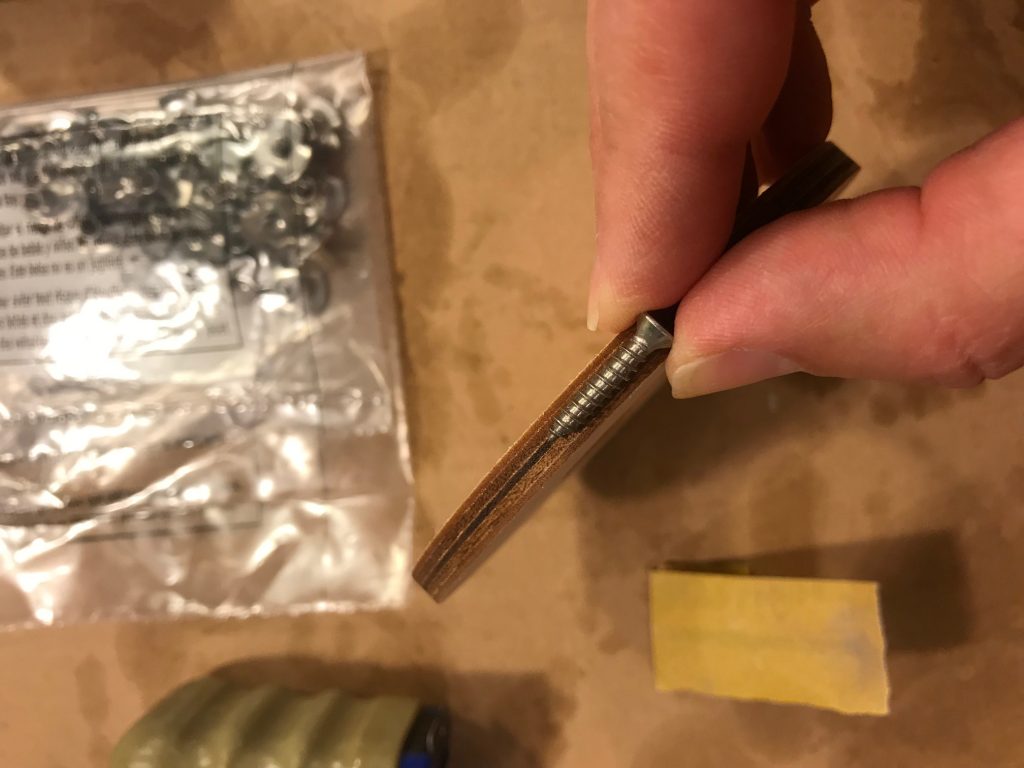
After letting the motor mount fully cure, it was time to move on to the rail buttons. Based on the Apogee video instructions, the rear rail button is screwed through the body tube and into the rear centering ring. I am less than impressed by this. As shown in the photo below, the #6 wood screw is almost the same width as the centering ring. Assuming the hole is drilled in the precise center, the threads will cut almost to the edges of the centering ring. If there is any misalignment in drilling the pilot hole, the screw will blow out the edge of the plywood centering ring. Also, if I replace the rail buttons due to wear, repeated removing and replacing this screw will cause the hole to open up. I also fear stripping this hole out if the rail button puts any force on the screw. As an avid woodworking, screwing into the edge of plywood never really makes sense.
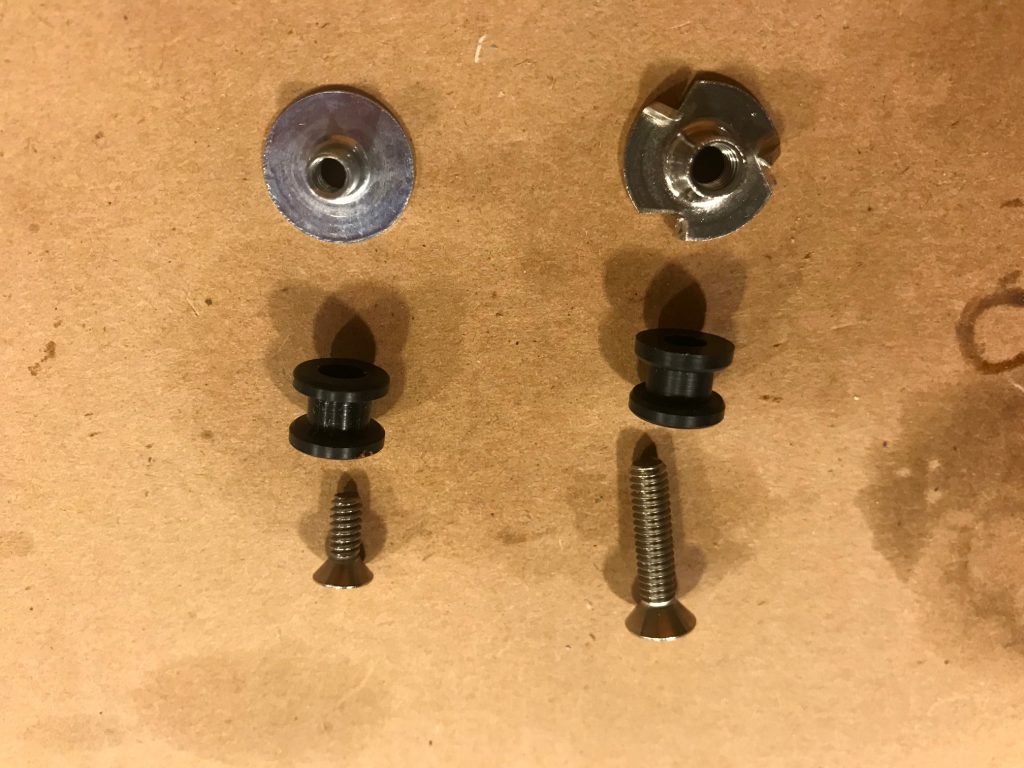
The forward rail button mount also left me less than impressed. The kit came with a small metal T-bolt like mount. The screw was a #6 stainless screw with about 1 mm thread clearance through the rail button. The fact that this was small and looked like it would put a lot of stress on the cardboard body tube made me think about upgrading it. I decided to instead use stainless T-bolts with a plywood backing plate. I ordered some Delron rail buttons with #8 stainless screws as well as some #8 stainless barbed T-bolts.
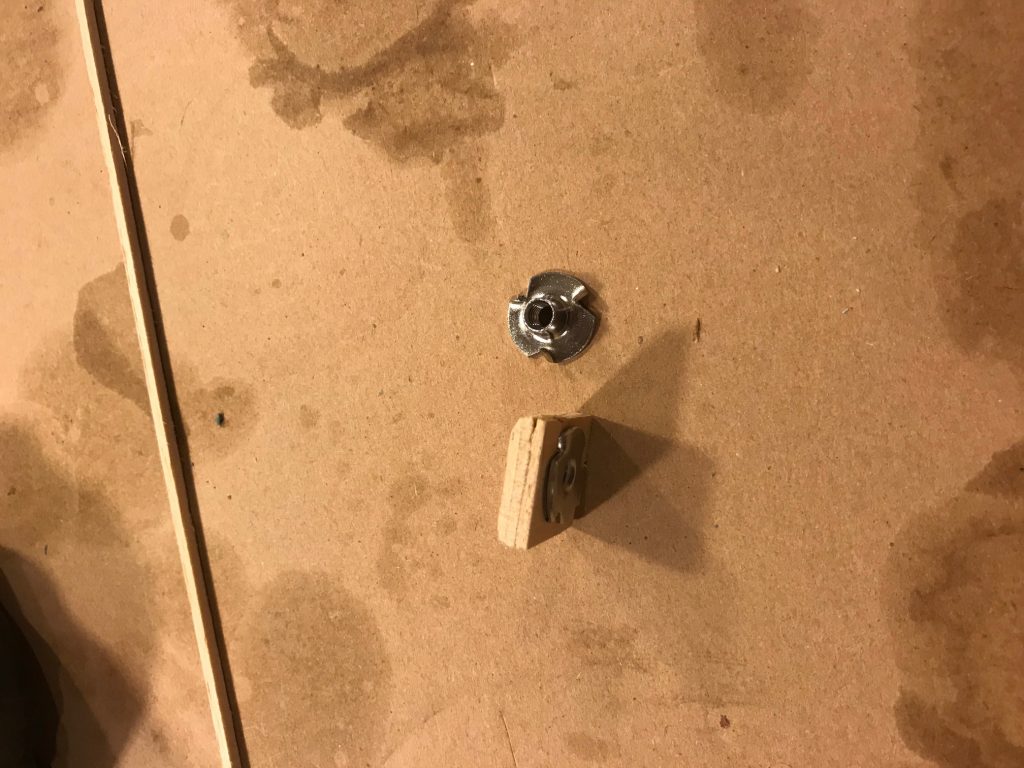
To mount the T-bolt, I cut a 1″ x 1″ scrap of 1/4″ thick plywood. I drilled a hole through the center of the plywood to allow the T-bolt to be inserted into the plywood. The plywood was sanded to have roughly a 4″ radius across it so it had full surface area to bond to the inside of the body tube. The 1/4″ plywood is actually about 3/16″ thick. This allows the T-bolt threaded portion to protrude about 1/16″ of an inch through the plywood.
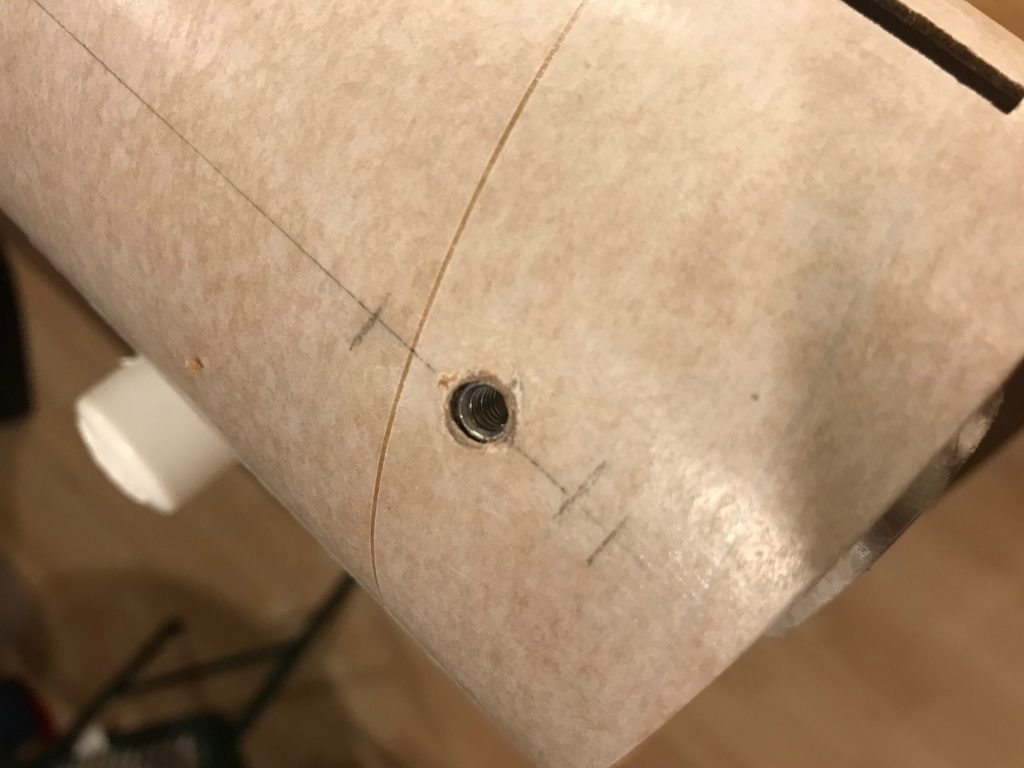
After the rail button mounts were assembled, the body tube was marked to determine where to drill the holes. For the rear rail button, the block was placed as far back as possible without interfering with the rear centering ring. The front rail button was located just above the front centering ring. One thing to keep in mind is not to have the rail button mount interfere with the eyebolt on the front centering ring. I placed my rail buttons on the opposite side of the body tube as the eyebolt. After determining the location, I drilled holes through the body tube, wicked some thin CA into the exposed edges of the cardboard, and epoxied the rail button mounts in place with 30 min epoxy.
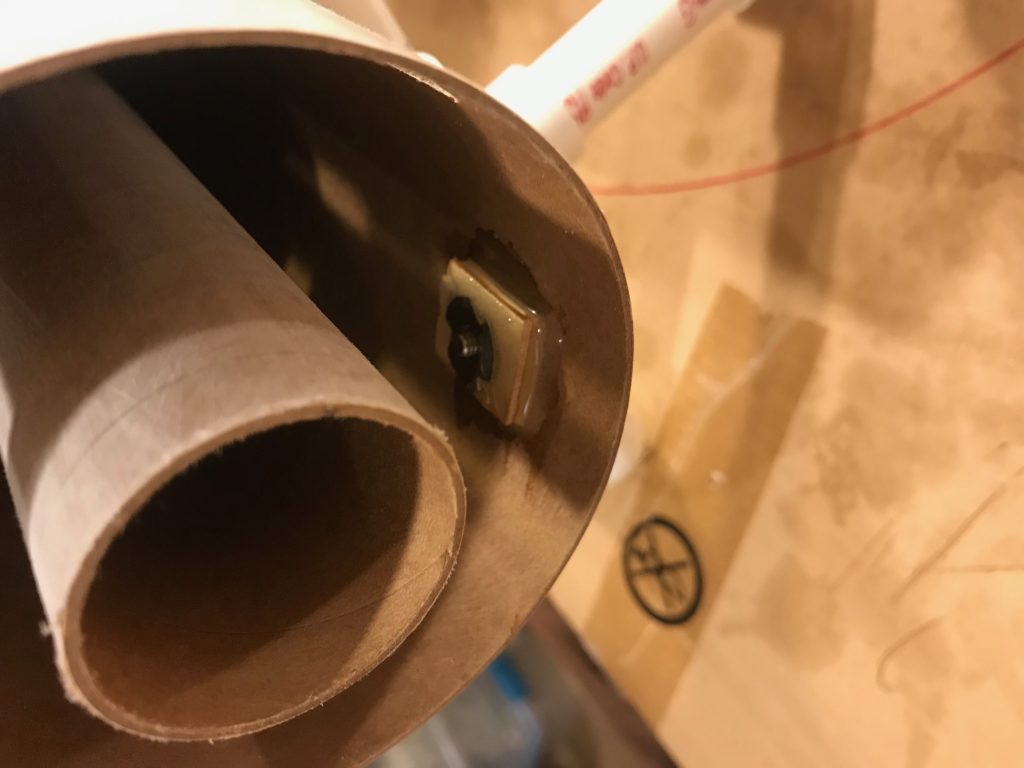
Since I used plywood just slightly thinner than the T-bolt, the shaft of the T-bolt actually went most of the way into the body tube. This helped with aligning the T-bolt as well as preventing the cardboard from collapsing if the railbuttons are over-torqued.
The next step will be installing the fins. In general, I feel that this kit has some very nice quality components coupled with some ridiculously bad decisions. To include a better rail button, backing plate, and T-bolt would have been a near negligible cost increase while providing much better quality. Granted, this is my first 4″ level 1 and 2 capable rocket, but there really is no reason to skimp on quality for something as minor as this.